
This lesson is made with PSPX9
But is good with other versions.
© by SvC-Design

Materialen Download :
Here
******************************************************************
Materials:
cas_Mask_0218_01[1]1415.jpg
mask abstract 2.jpg
soleil_glass.f1s
soleil_shadow.f1s
alpha_soleil.pspimage
sat_aru01.pspimage
sat_couc01.pspimage
sat_fem17.pspimage
wordart.pspimage
******************************************************************
Plugin:
Plugin - Carolaine and Sensibility - CS-HLines
Plugins - Carolaine and Sensibility - CS-LDots
Plugin – Unlimited 2.0 - Bkg Designers SF10 I - Cruncher
Plugin - EyeCandy 5 Impact - Glass
Plugin - Eye Candy5 Impact - Perspective shadow
Plugin - AAA Frame - Foto frame
******************************************************************
color palette
:
******************************************************************
methode
When using other tubes and colors, the mixing mode and / or layer coverage may differ
******************************************************************
General Preparations:
First install your filters for your PSP!
Masks: Save to your mask folder in PSP, unless noted otherwise
Texture & Pattern: Save to your Texture Folder in PSP
Selections: Save to your folder Selections in PSP
Open your tubes in PSP
******************************************************************
We will start - Have fun!
Remember to save your work on a regular basis
******************************************************************
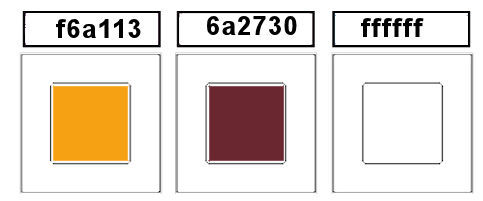
Foreground: #f6a113
Background: #6a2730

1.
open the alpha_soleil background
Duplicate and close original window
2.
fill with this linear gradient
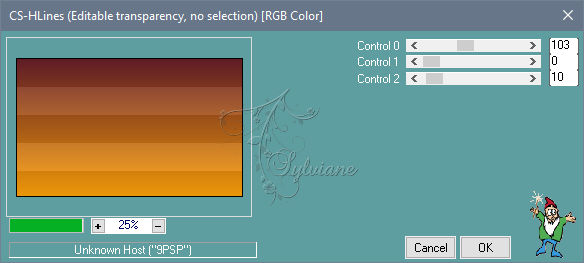
3.
Plugin - Carolaine and Sensibility - CS-HLines
4.
Selections - Load / Save - Load selection from Alpha Channel -
selection 1
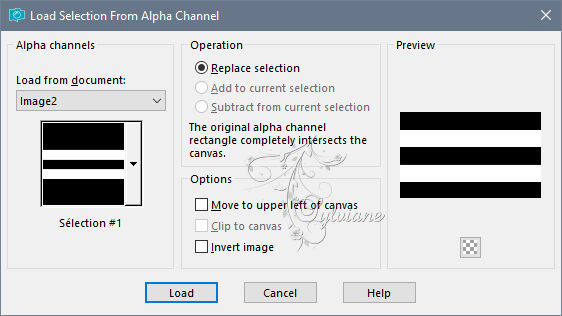
Selections – Promote selections to layer
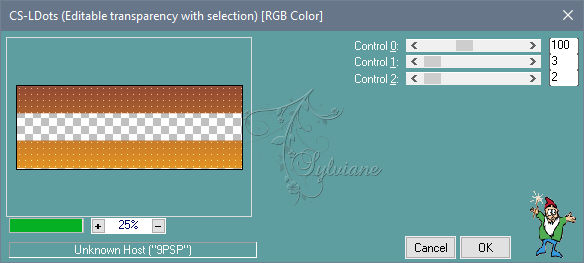
Plugins - Carolaine and Sensibility - CS-LDots
5.
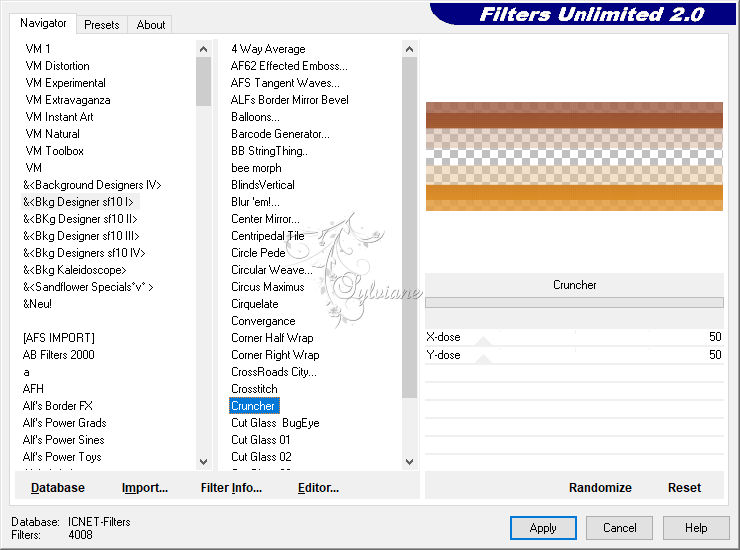
Plugin – Unlimited 2.0 - Bkg Designers SF10 I - Cruncher
Effects - Edge Effects – Enhance More
Selection - Select None
6 .
Layers - Duplicate
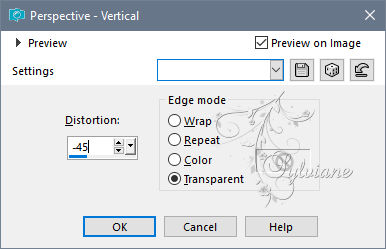
Effects – goemetric effects – persppective vertical
Layers - Arrange - Move Down
Activate selection tool (Press K on your keyboard)
And enter the following parameters:
Pos X :37 – Pos Y :165
7.
Effects - 3D effects - Drop shadow
30/0/100/40 olor:#6a2730
8.
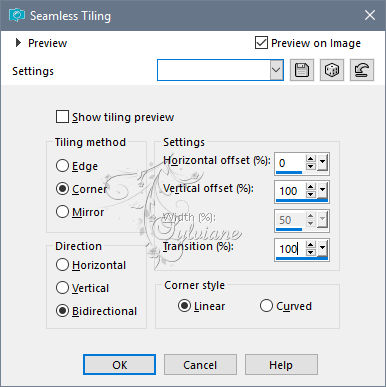
Effects - Image Effects - Seamless Tiling
9.
Layers - Arrange – Bring to top
Open sat_couc01.pspimage
Edit – Copy
Edit - Paste as new layer
Image - resize to 120%,
10.
Layers - Duplicate
Layers - merge - merge down
11.
Activate raster 1
Layers - New Raster Layer
Fill with white color
Layers - New Mask Layer - From Image - mask abstract 2.jpg
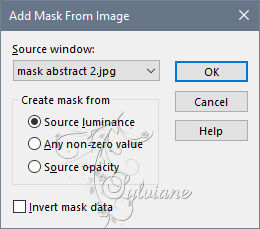
Layers - Merge - Merge Group
Effects - Edge Effects - Enhance
Blendmode: Overlay
Image - Mirror - Flip Horizontal
Effects - 3D effects - Drop shadow
30/0/100/40 olor:#6a2730
12-
activate the top layer
Layers - New Raster Layer
Fill with white
Layers - New Mask Layer - From Image - cas_Mask_0218_01[1]1415.jpg
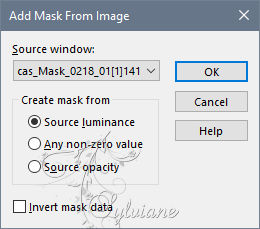
Layers - Merge - Merge Group
13.
Effects - 3D effects - Drop shadow
30/0/100/40 olor:#6a2730
14-
Selections - Load / Save - Load selection from Alpha Channel -
selection 2

Layers - New Raster Layer
Open sat_couc01.pspimage
Edit – Copy
Edit - Paste into selection
15.
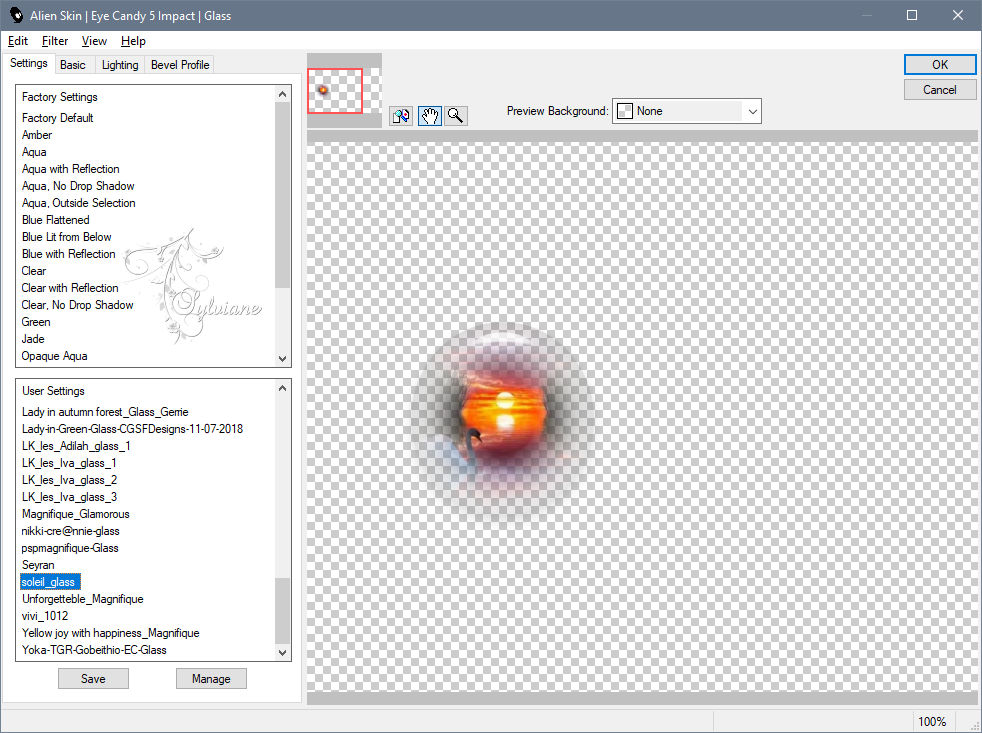
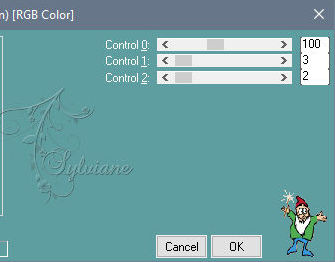
Plugin - EyeCandy 5 Impact - Glass -
Setting soleil_glass
Selection - Select None
Place yourself on the mask layer
Blendmode : Overlay
16.
Open sat_fem17.pspimage
Edit – Copy
Edit - Paste as new layer
Image - resize to 75%
all layers not checked
17.
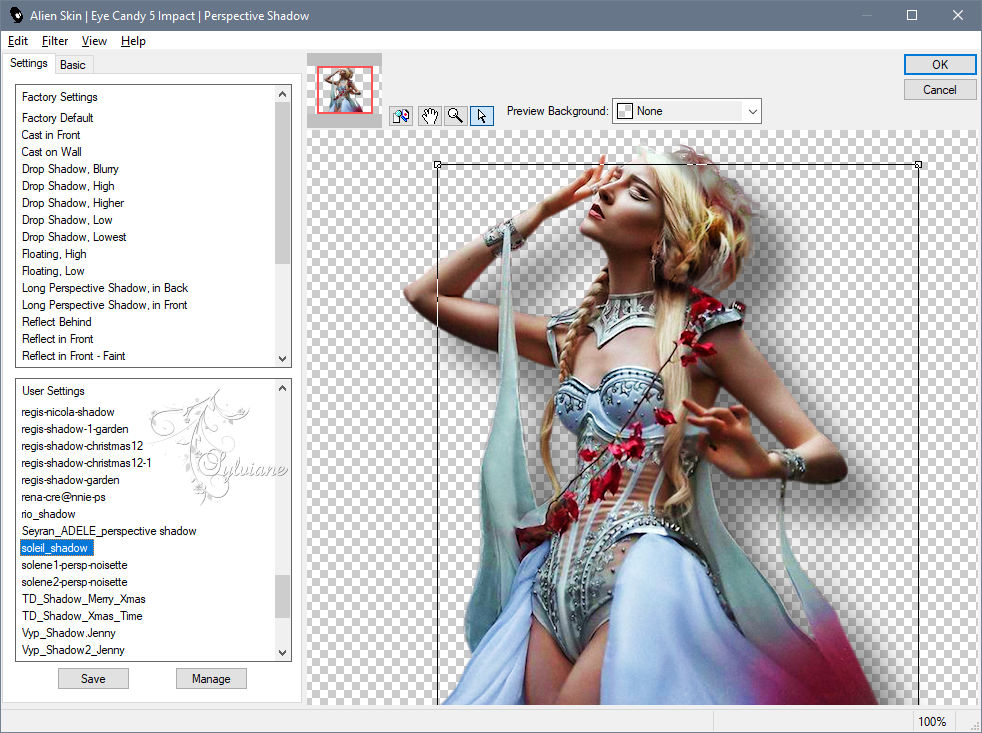
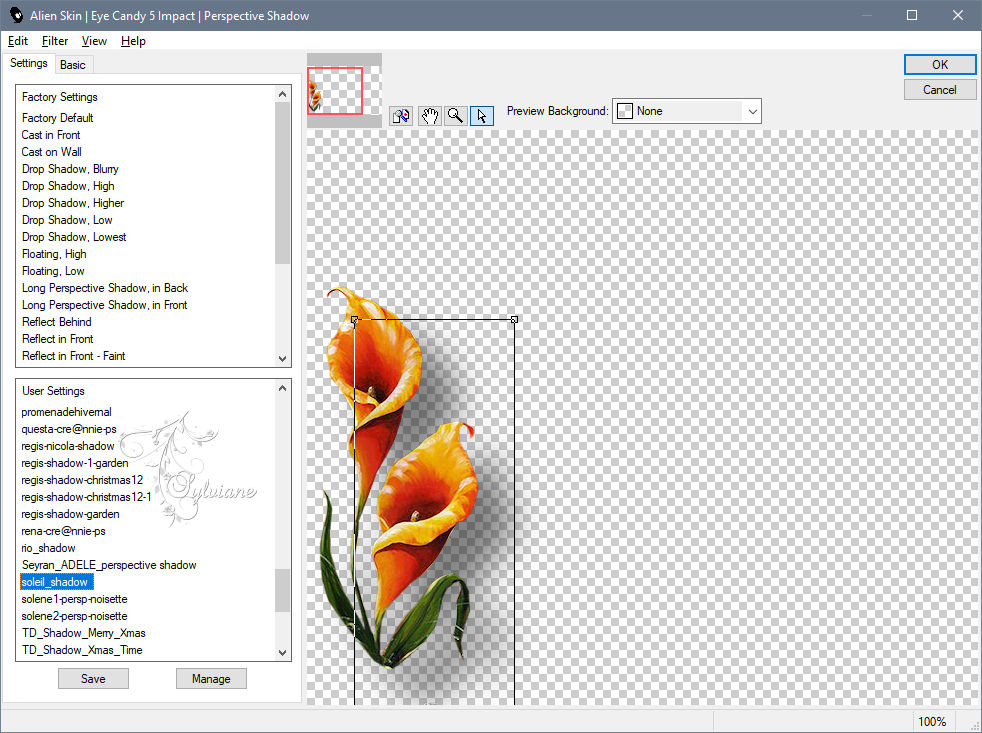
Plugin - Eye Candy5 Impact - Perspective shadow
Setting: soleil_shadow
18.
Open sat_aru01.pspimage
Edit – Copy
Edit - Paste as new layer
Image resize 2 times to 75%
Adjust - Sharpness - Sharpen
Plugin - Eye Candy5 Impact - Perspective shadow
Setting: soleil_shadow
19.
Open wordart.pspimage
Edit – Copy
Edit - Paste as new layer
Image resize to 75%
Image – negative image
(depending on your colors)
20.
Activar raster 1
Edit - copy
Image - Add Borders -1 pixel – color: #6a2730
Image - Add Borders -3 pixels – color: #f6a113
Selection - Select All
Image - Add Borders - 20pixels – color: #ffffff
Selections - Invert
Fill with gradient, same parameters
21.
Plugin - Carolaine and Sensibility , CS-LDots
22.
Effects - 3D effects - Drop shadow
0/0/80/40 color:#000000
Selection - Select None
22-
Image - Add Borders -3 pixels – color: #f6a113
Selection - Select All
Image - Add Borders - 50pixels – color: #ffffff
Selections - Invert
Edit paste in the selection your background in memory
Keep selected
22 .
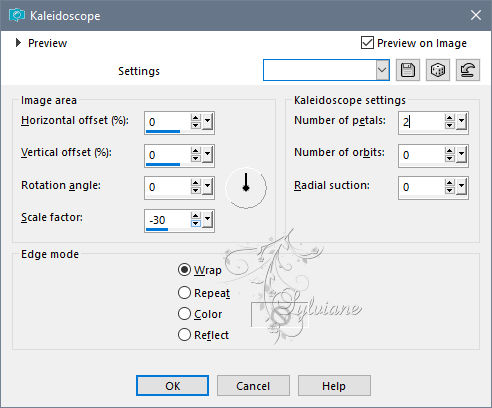
Effects – reflection effects – kaleidoscope
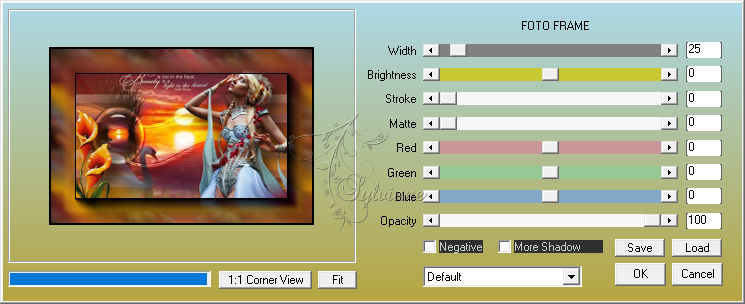
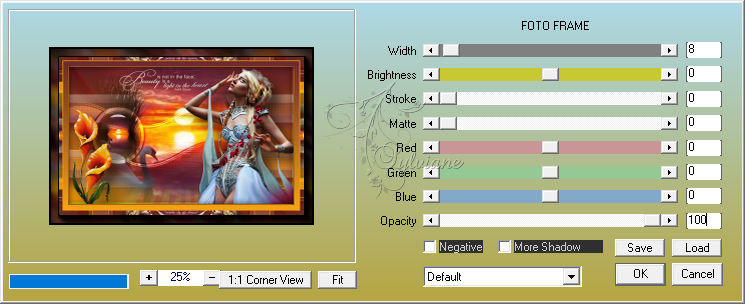
Plugin - AAA Frame - Foto frame
Selection - Select None
23.
Repeat AAA Frame - Foto frame
24.
Put your watermerk
Resize to 900 pxls wide
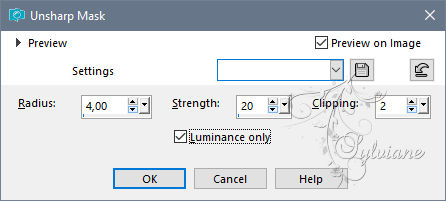
Adjust – sharpness – unsharp masker
25.
Save as JPEG
Back
Copyright Translation © 2020 by SvC-Design